User Manual
ROS Noetic related dependencies
To program robotics applications, VisualCircuit tool requires the following dependencies. You can skip this step if you are not interested in programming robotics applications.
Installation over Ubuntu 20.04 LTS:
- ROS Noetic: Desktop-Full Install recommended, includes Gazebo. Link.
- Gazebo 11
Full ROS package:
sudo apt install ros-noetic-desktop-full
Current Dependencies
Python 3.8 and above, pip3, Tkinter and OpenCV:
(Ubuntu 20.04 comes with Python 3.8.2)
sudo apt-get install        \
python3-tk python3-opencv   \
python3-pip
NodeJS (14.4.0) and npm (6.14.5):
sudo apt-get install curl
curl -sL https://deb.nodesource.com/setup_14.x | sudo -E bash -
sudo apt-get install -y nodejs
node --version
npm --version
Setup
You can directly use the hosted version of VisualCircuit at https://visualcircuit.org without any setup!
Local setup
You can download the VisualCircuit-3.x from here
Running the Tool:
After downloading the zip file and extracting it:
Run VisualCircuit frontend:
- Open the VisualCircuit folder and change directory to
frontendin a terminal - Run
npm install - Run
npm start - Open http://localhost:3000/ in browser.
Run VisualCircuit backend:`
- Open the VisualCircuit folder and change directory to
backendin a terminal - Create a Python3 virtual environment using venv. For eg.
python3 -m venv .venv - After activating the virtual environment, install the dependencies by running
pip install -r requirements.txt - Add .env file to the backend folder. And add the variables as defined in .env.template
- Create the static folder which will serve files during execution using
python3 manage.py collectstatic - Start the server by running
python3 manage.py runserver 8000
Well Done! you have Successfully Installed the VisualCircuit
Now it’s time to play with it.
Build first application:
We are now going to create our first running robotics application using Visual Circuit.
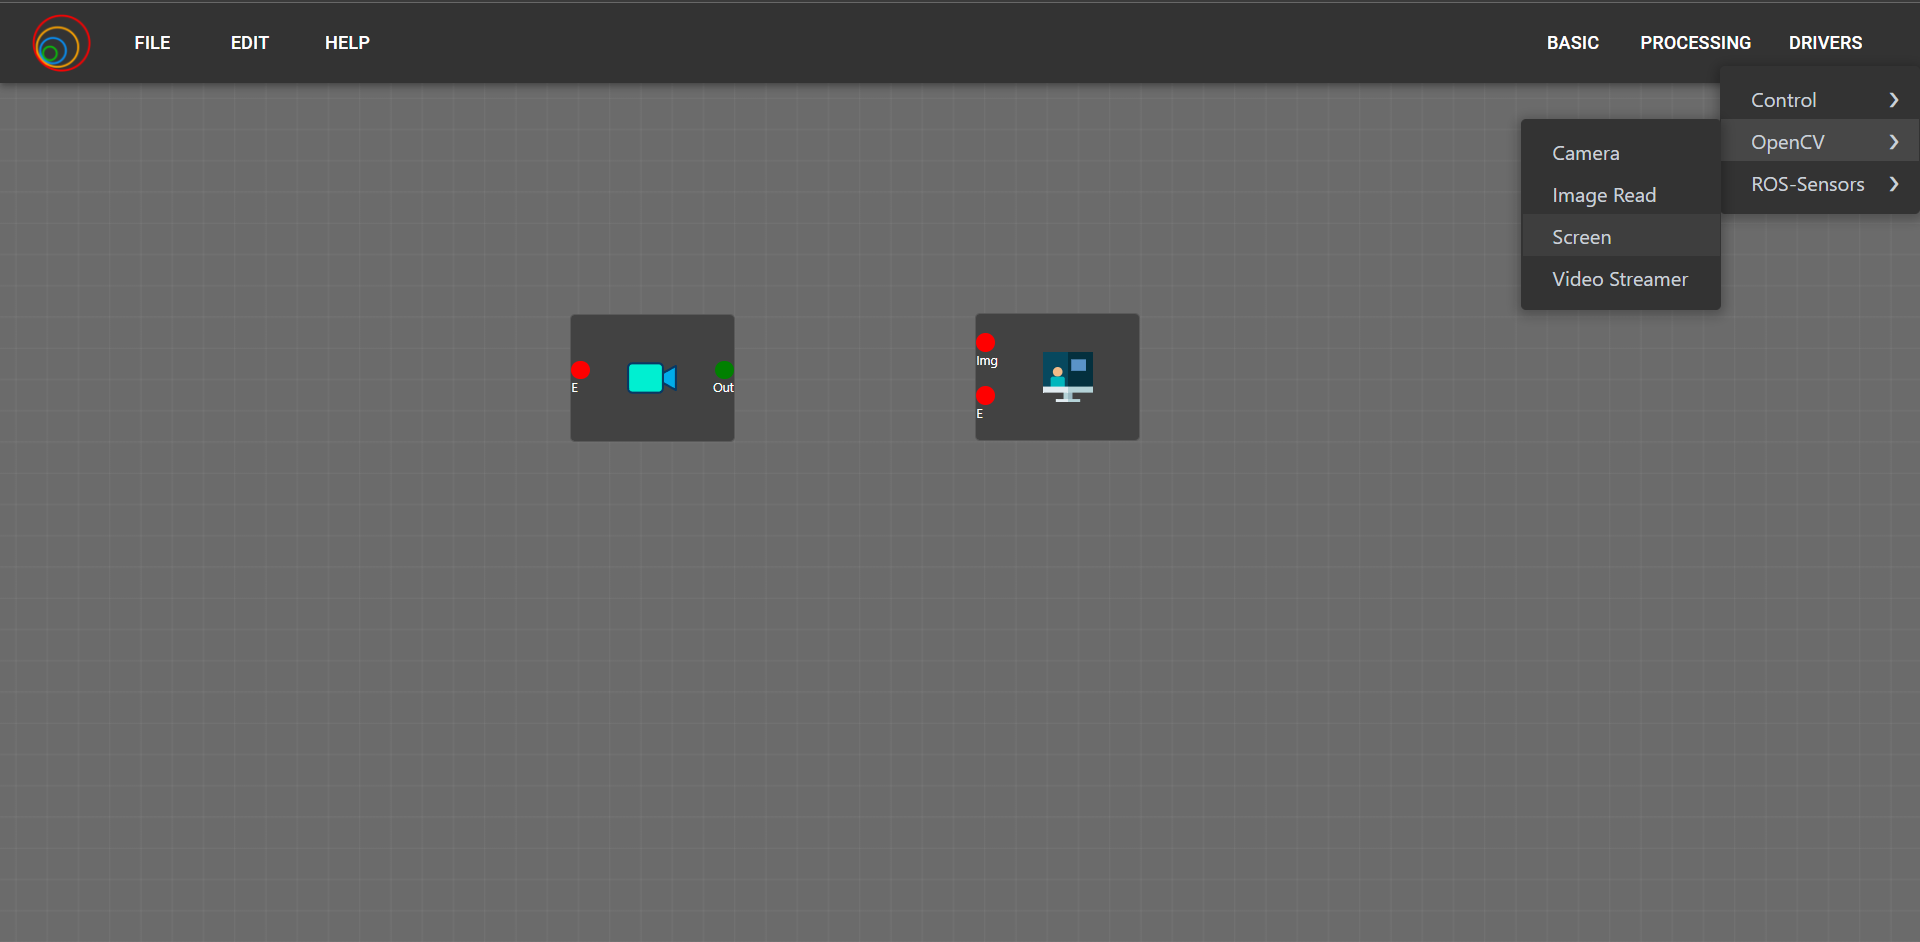
First of all, on the top right corner you will find some options like Basic, Processing, and etc.

Click on the Blocks and following menu will be poped up.
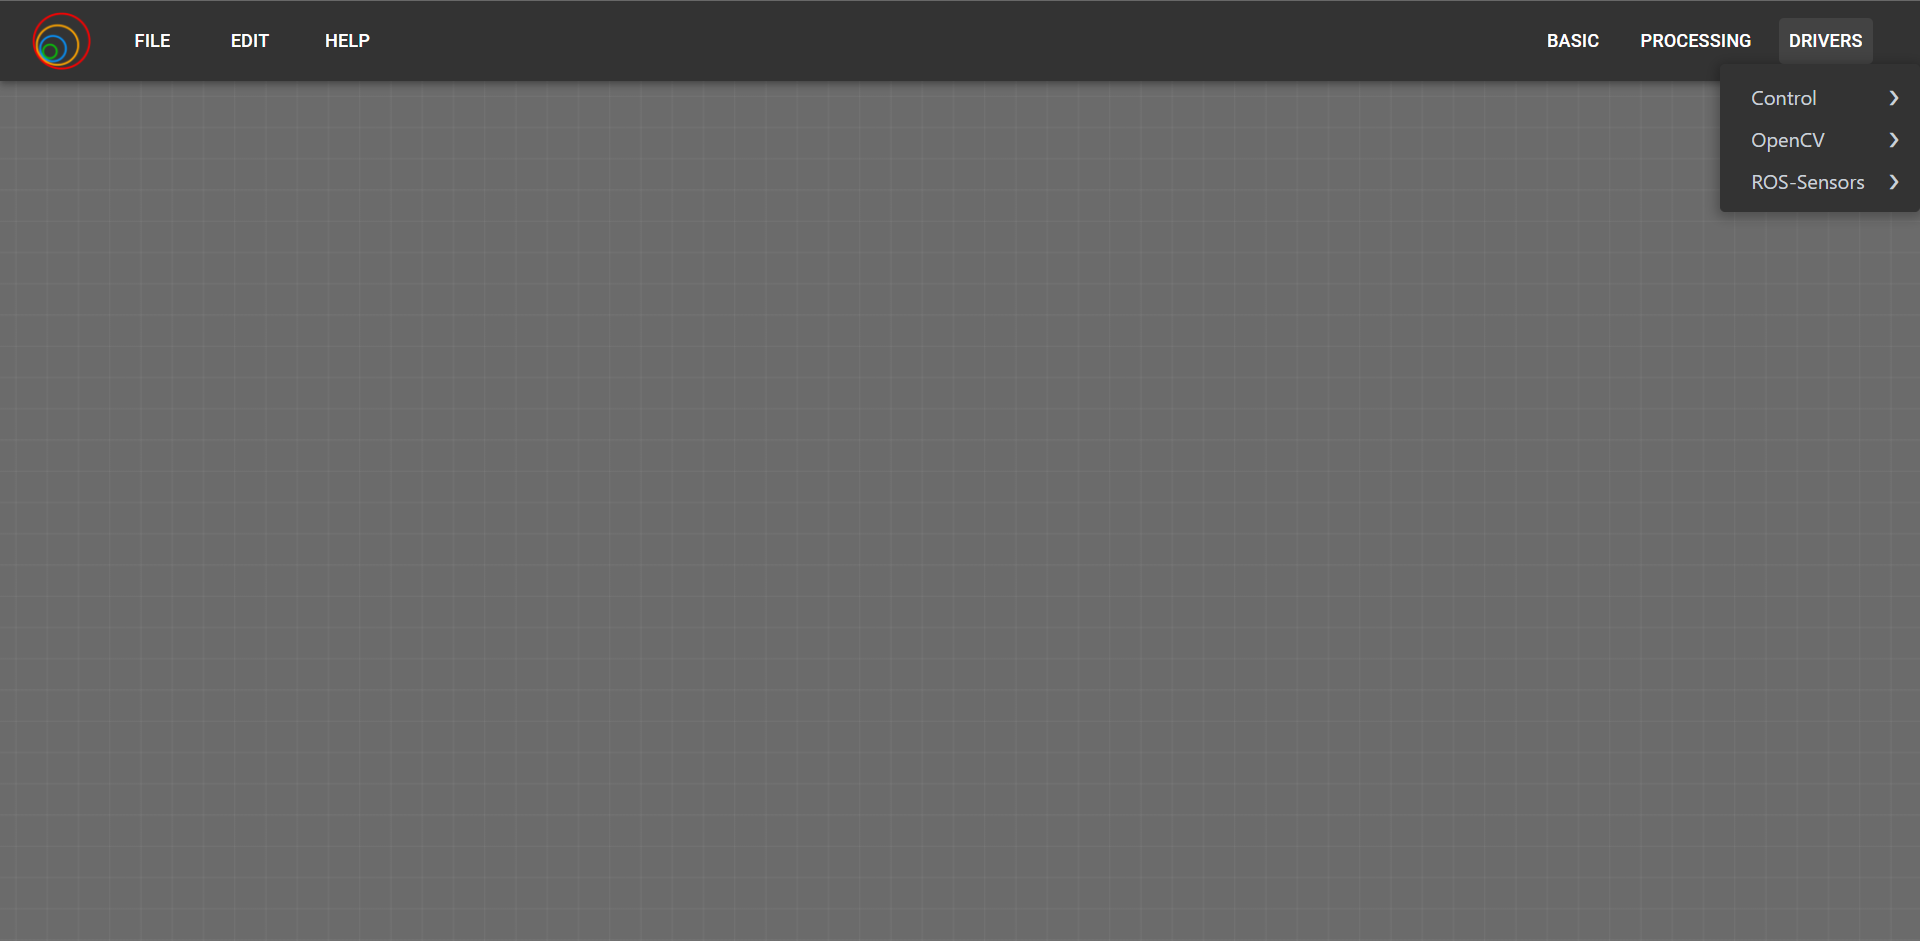
Expand the openCV.
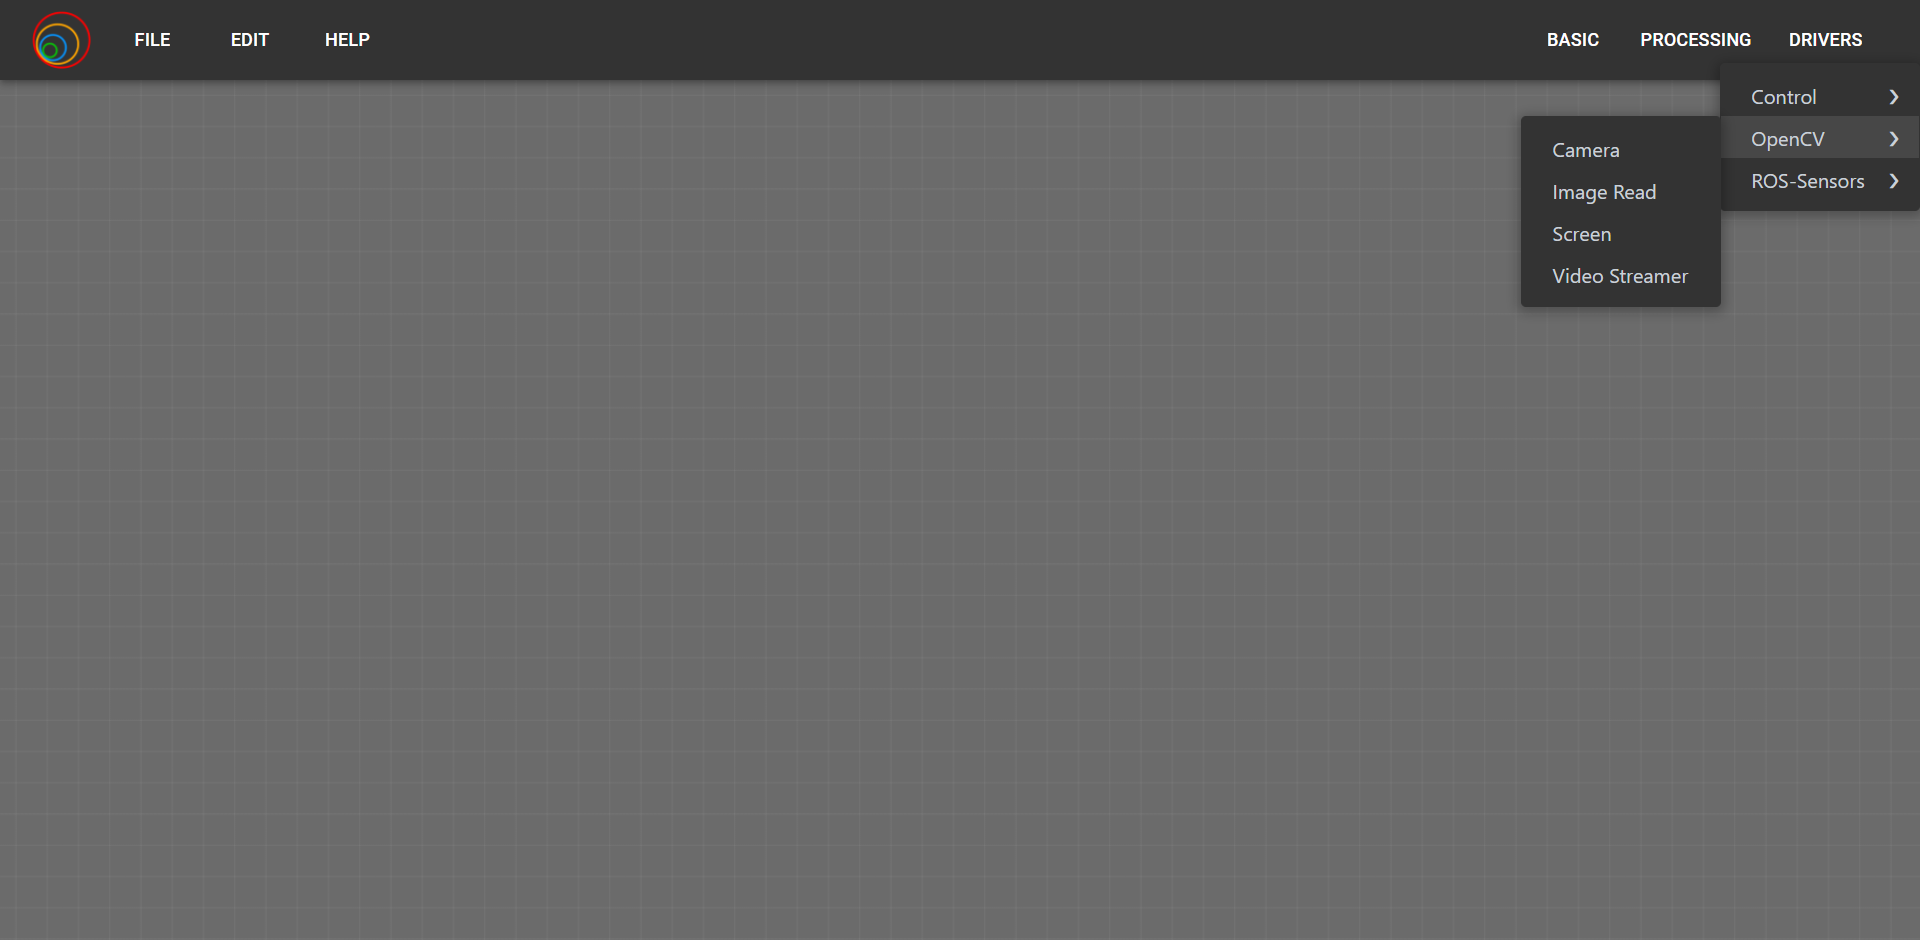
Select the camera and place it.
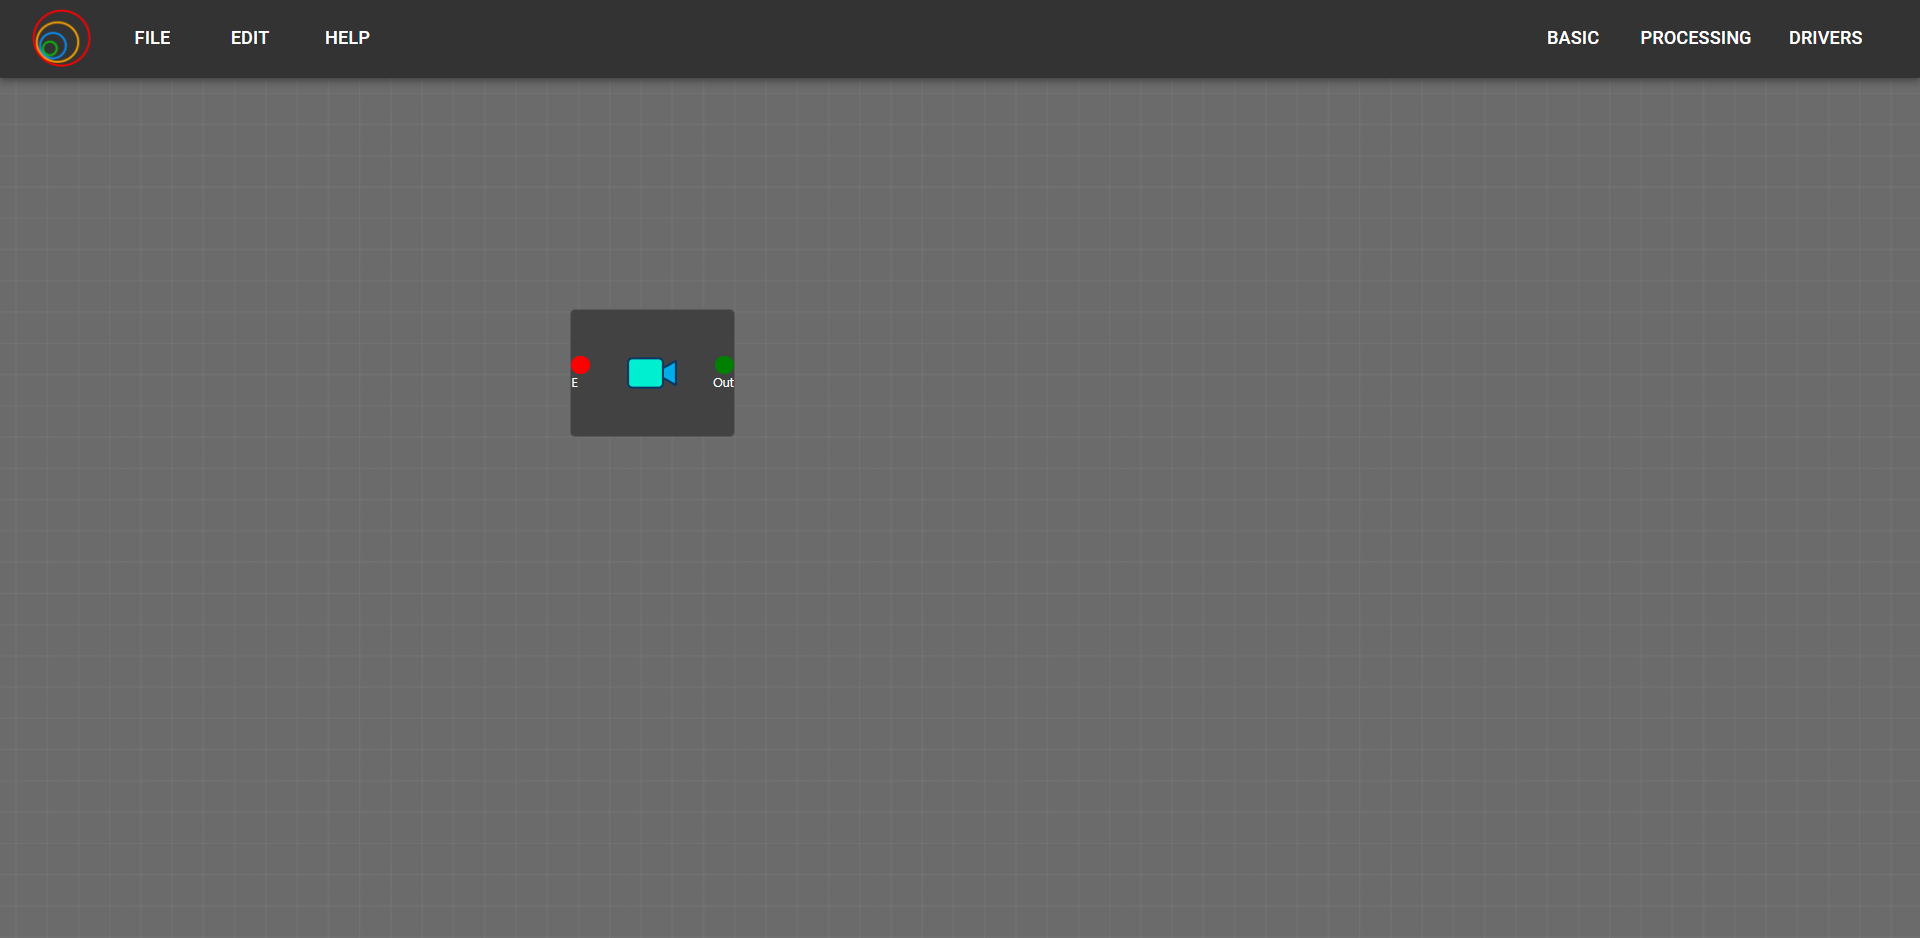
Again go to openCV. This time select the screen and place it.
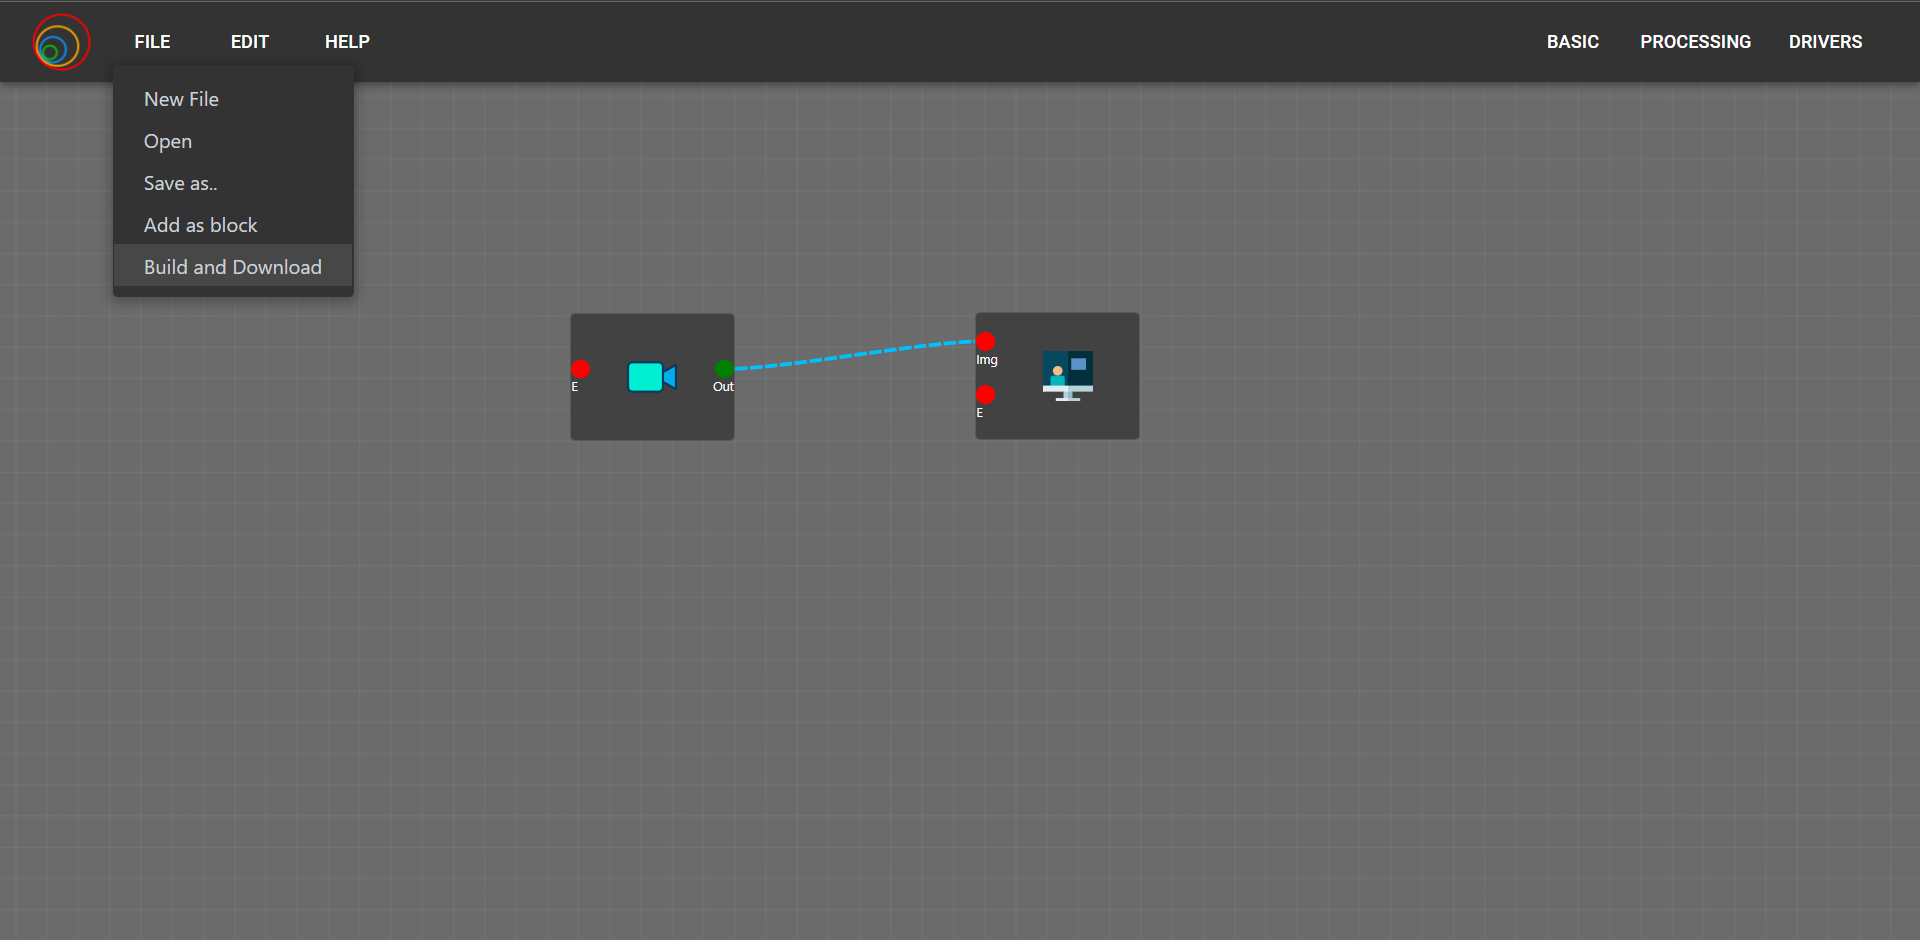
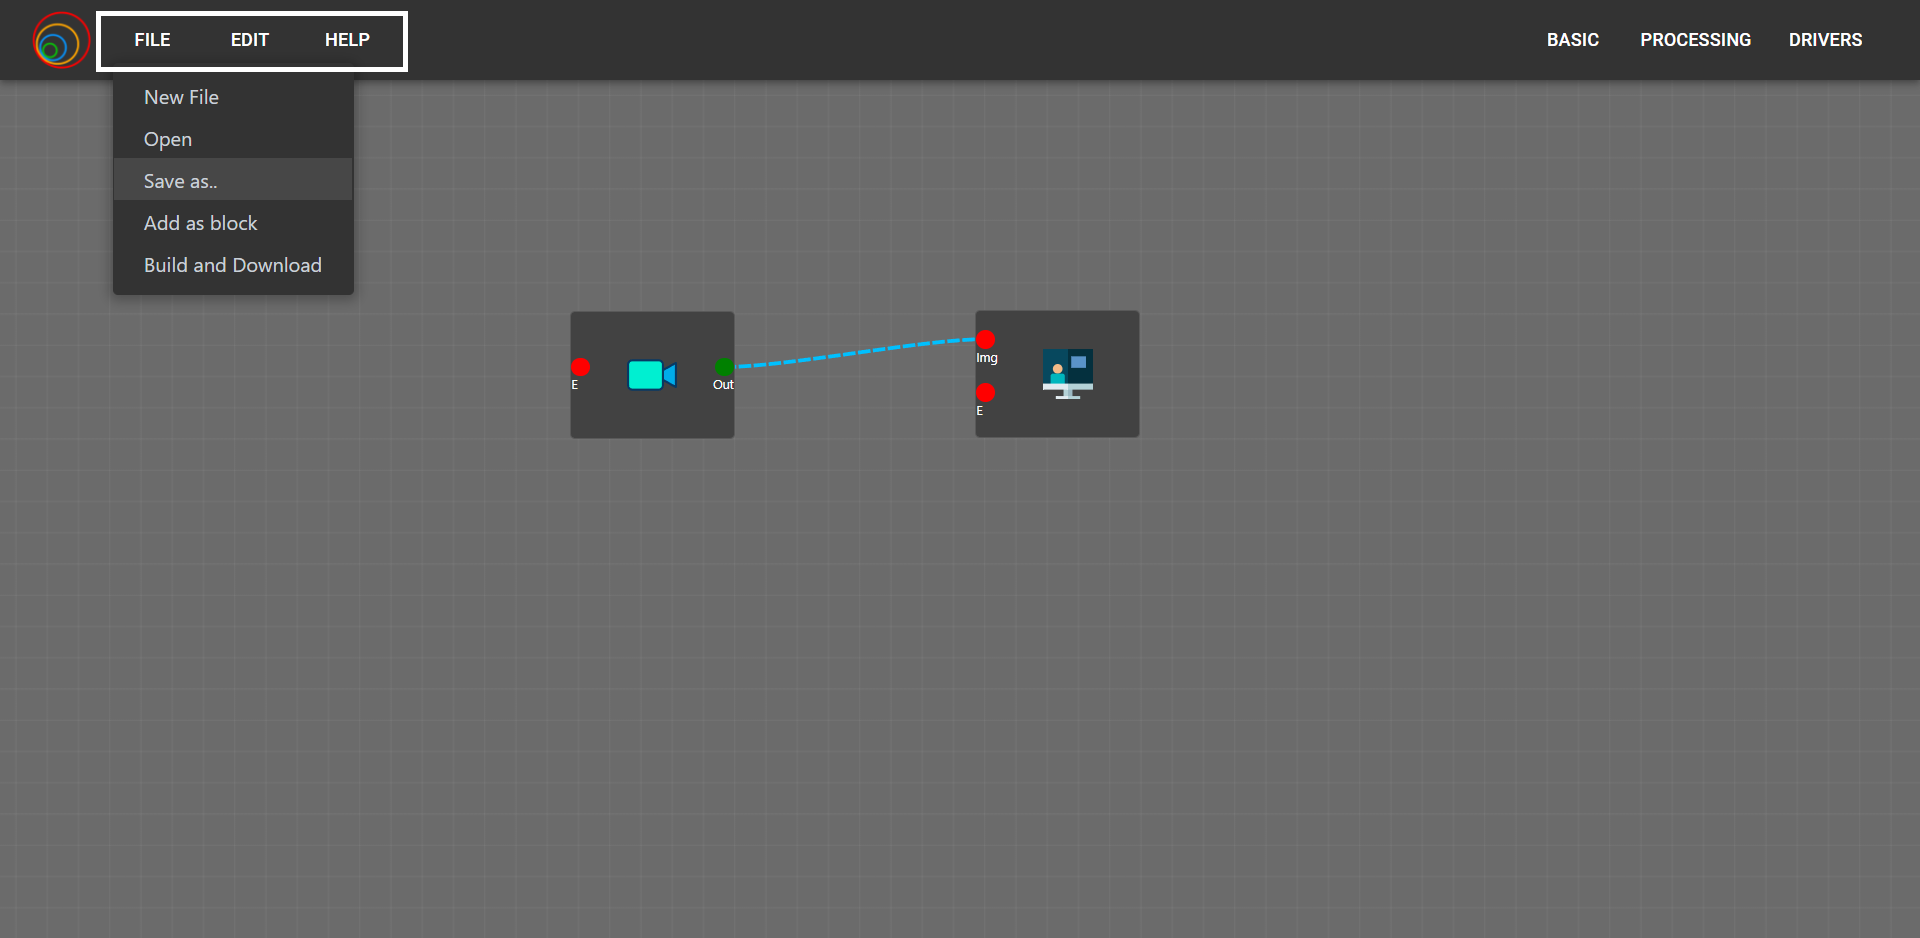
Now connect the camera to screen. click and hold on the ‘Out’ node of camera and join it to the ‘Img’ node of screen.
Your application has been set up. It’s time to execute your first application.
To do so, first saved your application by going to File from top left corner and clicking on ‘Save as…’
This saves just block representation of the application.
Next click on ‘Build and download’ to download a python package. It has a main.py file which can executed as a normal python file from the terminal